No edit summary |
No edit summary |
||
| Line 19: | Line 19: | ||
<p> | <p> | ||
</p> | </p> | ||
<p> | <p> | ||
<h3>Personal Scheduling Page Branding</h3> | <h3>Personal Scheduling Page Branding</h3> | ||
| Line 41: | Line 40: | ||
</p> | </p> | ||
<p> | <p> | ||
< | <h3>Organization Scheduling Page Branding</h3> | ||
</p> | </p> | ||
Changes apply to your organization scheduling page. | Changes apply to your organization scheduling page. | ||
Revision as of 18:05, 22 July 2026
Scheduling pages allow your invitees to book the meetings with you. SimplyMeet.me offers two ways to customize their appearance:
- Branding – a user-friendly editor that lets you customize colors, images, branding, and other visual elements without writing any code.
- Custom CSS (Professional plan only) – for advanced customization such as changing fonts, spacing, layouts, hiding elements, and overriding the default styling.
Personal vs. Organization Branding
With Branding settings, you can customize:
- Colors
- Avatar
- Company logo
- Banner image
- Welcome message
- SimplyMeet.me branding (paid plans)
SimplyMeet.me lets you customize Personal and Organization scheduling pages independently.
Personal Scheduling Page Branding
Changes apply only to your Personal scheduling page.
1. Go to the Branding page.
2. Select the Personal account tab.
3. Customize the colors, images, branding, and other available settings.
4. Click Save.

Organization Scheduling Page Branding
Changes apply to your organization scheduling page.
1. Go to the Branding page.
2. Select the Organization account tab.
3. Make the necessary changes.
4. Click Save.

Custom CSS (Professional plan only)
Organization-level CSS will be loaded when you open teammates scheduling link in your organization or the organization scheduling page.
Personal-specific CSS gets loaded only on the personal scheduling page.
Add your own CSS by directly adding the stylesheets in the settings. You can customize just about everything on your scheduling pages with do-it-yourself custom CSS (e.g. change the font format, size, override defaults colours etc.)!
(To apply custom CSS to a widget use: ".widget-theme" in your css code)
1. Go to Branding page.
2. Select Personal account or Organization account tab depending on the scheduling page you wish to customize.
3. Scroll the page to the Custom CSS section to get started.
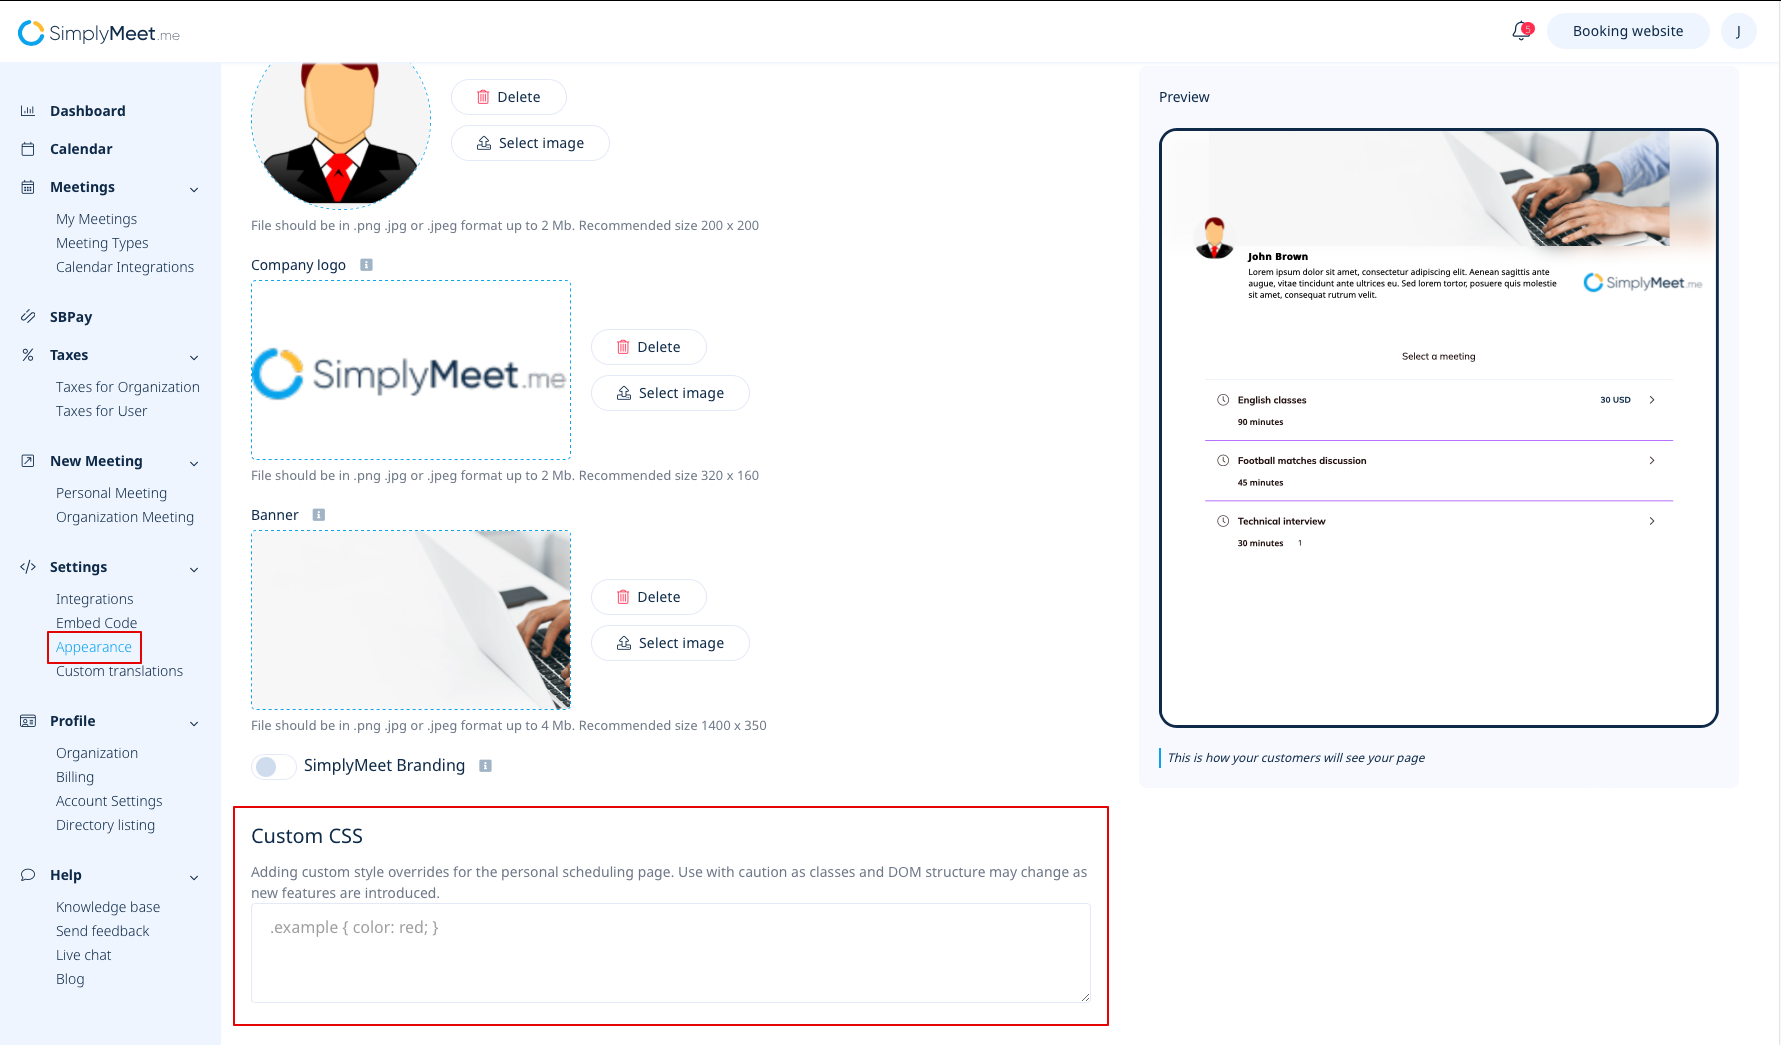
Just add your CSS using Custom CSS field. This CSS will automatically apply to your personal scheduling page.
Changing Fonts with Custom CSS
One of the most common Custom CSS customizations is changing the font used on your scheduling page.
Option 1 — Google Fonts (Recommended)
We recommend using Google Fonts, most fonts are free to use, including commercially. Browse available fonts here.
